The final stage of onboarding is to create the courses, attach them to subjects, and enroll the students. Before creating the courses, please read through the full article which explains course configuration.
To simply explain, a course is a lesson which attaches the students to a subject. Courses are used for attendance, assignments, and grade report assessments.
For importing, you will need to follow the same steps to fill out the template and map the relevant fields.
All courses need a subject, so if these have not been created/imported, then the course import will not work.
You can follow the video for class creation/enrolment as they are similar in terms of the steps needed to complete.
Course creation
At the bottom of this article you can download the course creation template. Please delete the dummy data before importing.
- If you have an external id from your existing system, then this can be added to the template. This may facilitate the enrolment phase if you already have a schedule in place.
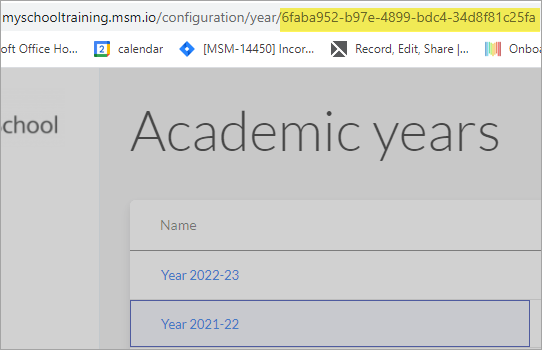
- Use the system year ID from the year management, the same as class creation. Find this from year management
. 
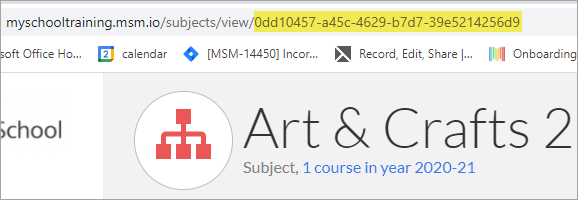
- Use the exact spelling when entering the subject or the ID that you can find in the subject management URL
- Give unique names to your courses. Use a differentiator if there a multiple englsh 10 courses in grade 10, consider using A,B or equivalent.
- Students can follow courses from outside their class level. We advise keeping these within the same school level though.
- When you assign a Teacher as a course Teacher they inherit the access rights for that user group.
Course enrolment
Locate the template located that bottom of this article.
There are many different ways to apply the key for the course and the student. If you wish to export a list of your imported students, and use the MySchool unique ID, then this is an ideal time to try out Quick reports.
Again, if you are using names, then make sure they are exactly the same spelling as the imports. If you have a scheduling programme (Asc, Timetabler or UNTIS) then this can be done using our relevant import tools.
- Use the academic year in which you have created your instance. In the example it was 2016/17. So we use 2017.
- For the student enrolment, choose one key from either SURNAME, NAME or External ID or the newly created MySchool ID.
- Use only the courses that have been created in the previous step.
- Do not enrol a student into courses attached to the same subject.
After this is complete, you are now ready to start configuring the rest of the system. we strongly advise you to double check your imported data, especially in terms of Staff access, Guardian access, and student access.
Import fields for course creation
| Field | Requirements |
| Legacy system ID | Not needed for course creation |
| Academic year | Use the UID |
| Subject | External ID, MSM UID, or Name (exact) |
| Course name | Free text (must be unique) |
| Course description | Free text |
| Course credit | Number |
| Code | Free text |
| Block (room) | MSM ID, or Name |
| 1st Teacher | MSM ID, or Name, first name |
| 2nd Teacher | MSM ID or Name, first name |
| Examination month (BC) | Name year (e.g September 2020, October 2020) |
Import fields for course enrolment
| Field | Requirements |
| Student | External ID, MSM UID, or Name, first name |
| Course | External ID, MSM UUID, or name (exact do not include subject stem) |
| Start date | DD/MM/YYYY |
| End date | DD/MM/YYYY |
Why not start by working on the following projects
1) How are we going to take attendance? Have a read through these articles to understand the configuration pages.
2) What is our assessment strategy? Should we start with assignments to encourage user acceptance to the new system? Check out how to build assignments for continuous assessment.
3) Do you wish to start with the admissions module for new starters. A great way to gain user trust in the system.
Comments
0 comments
Article is closed for comments.